WPF Effects
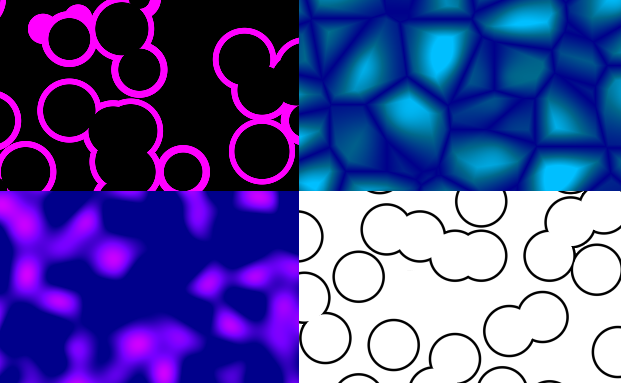
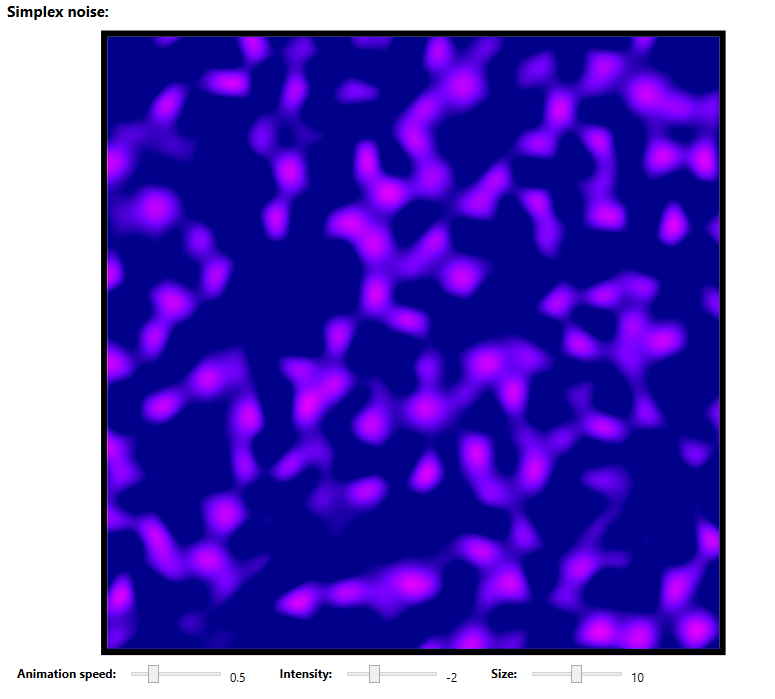
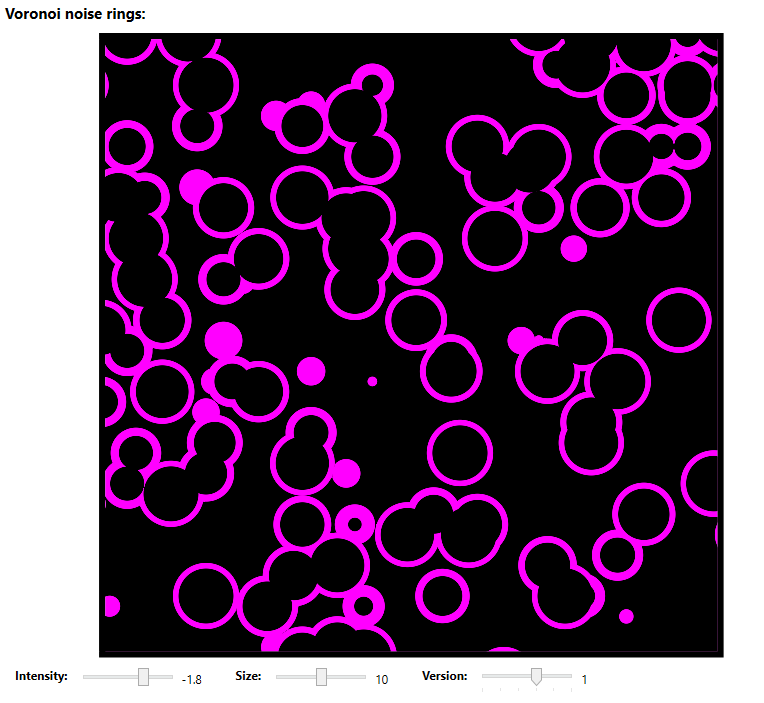
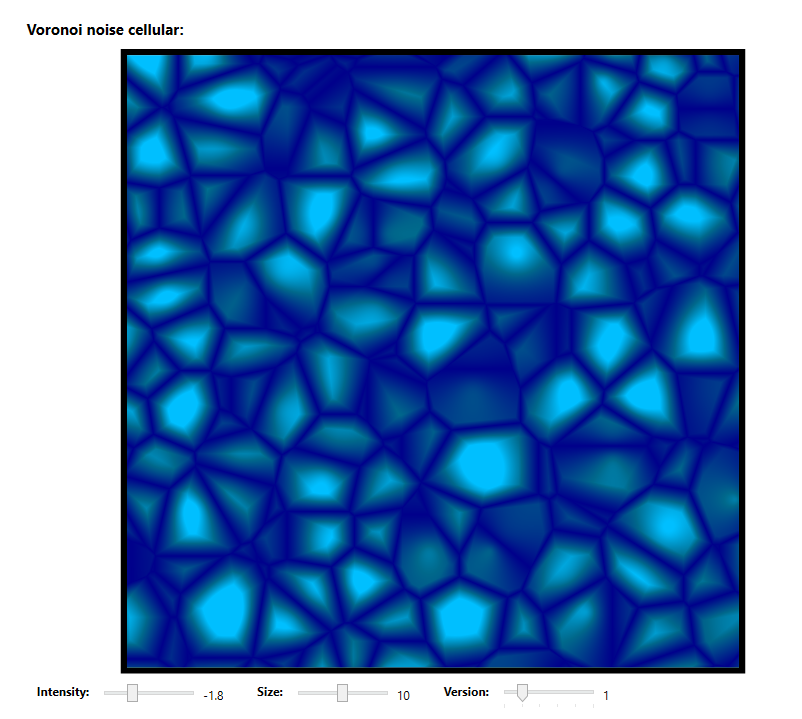
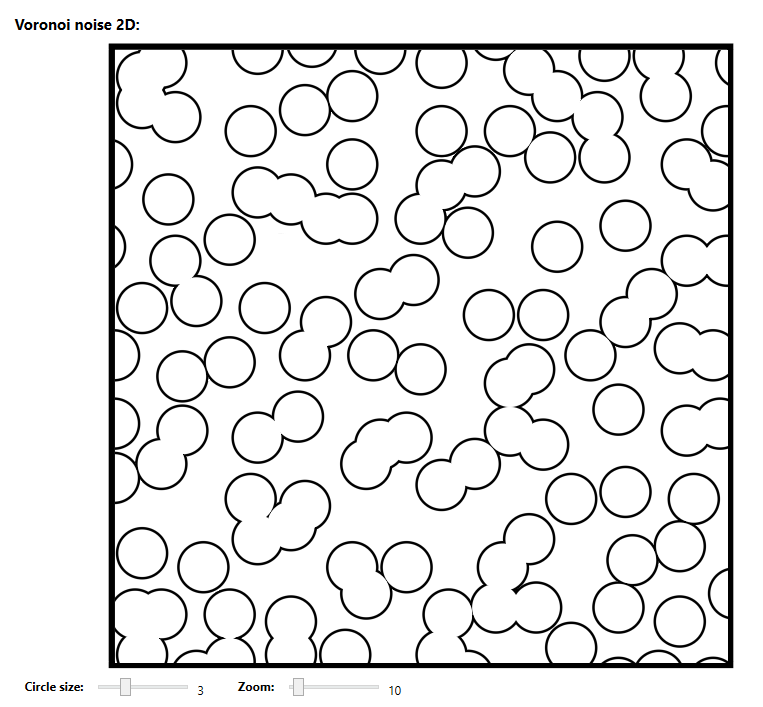
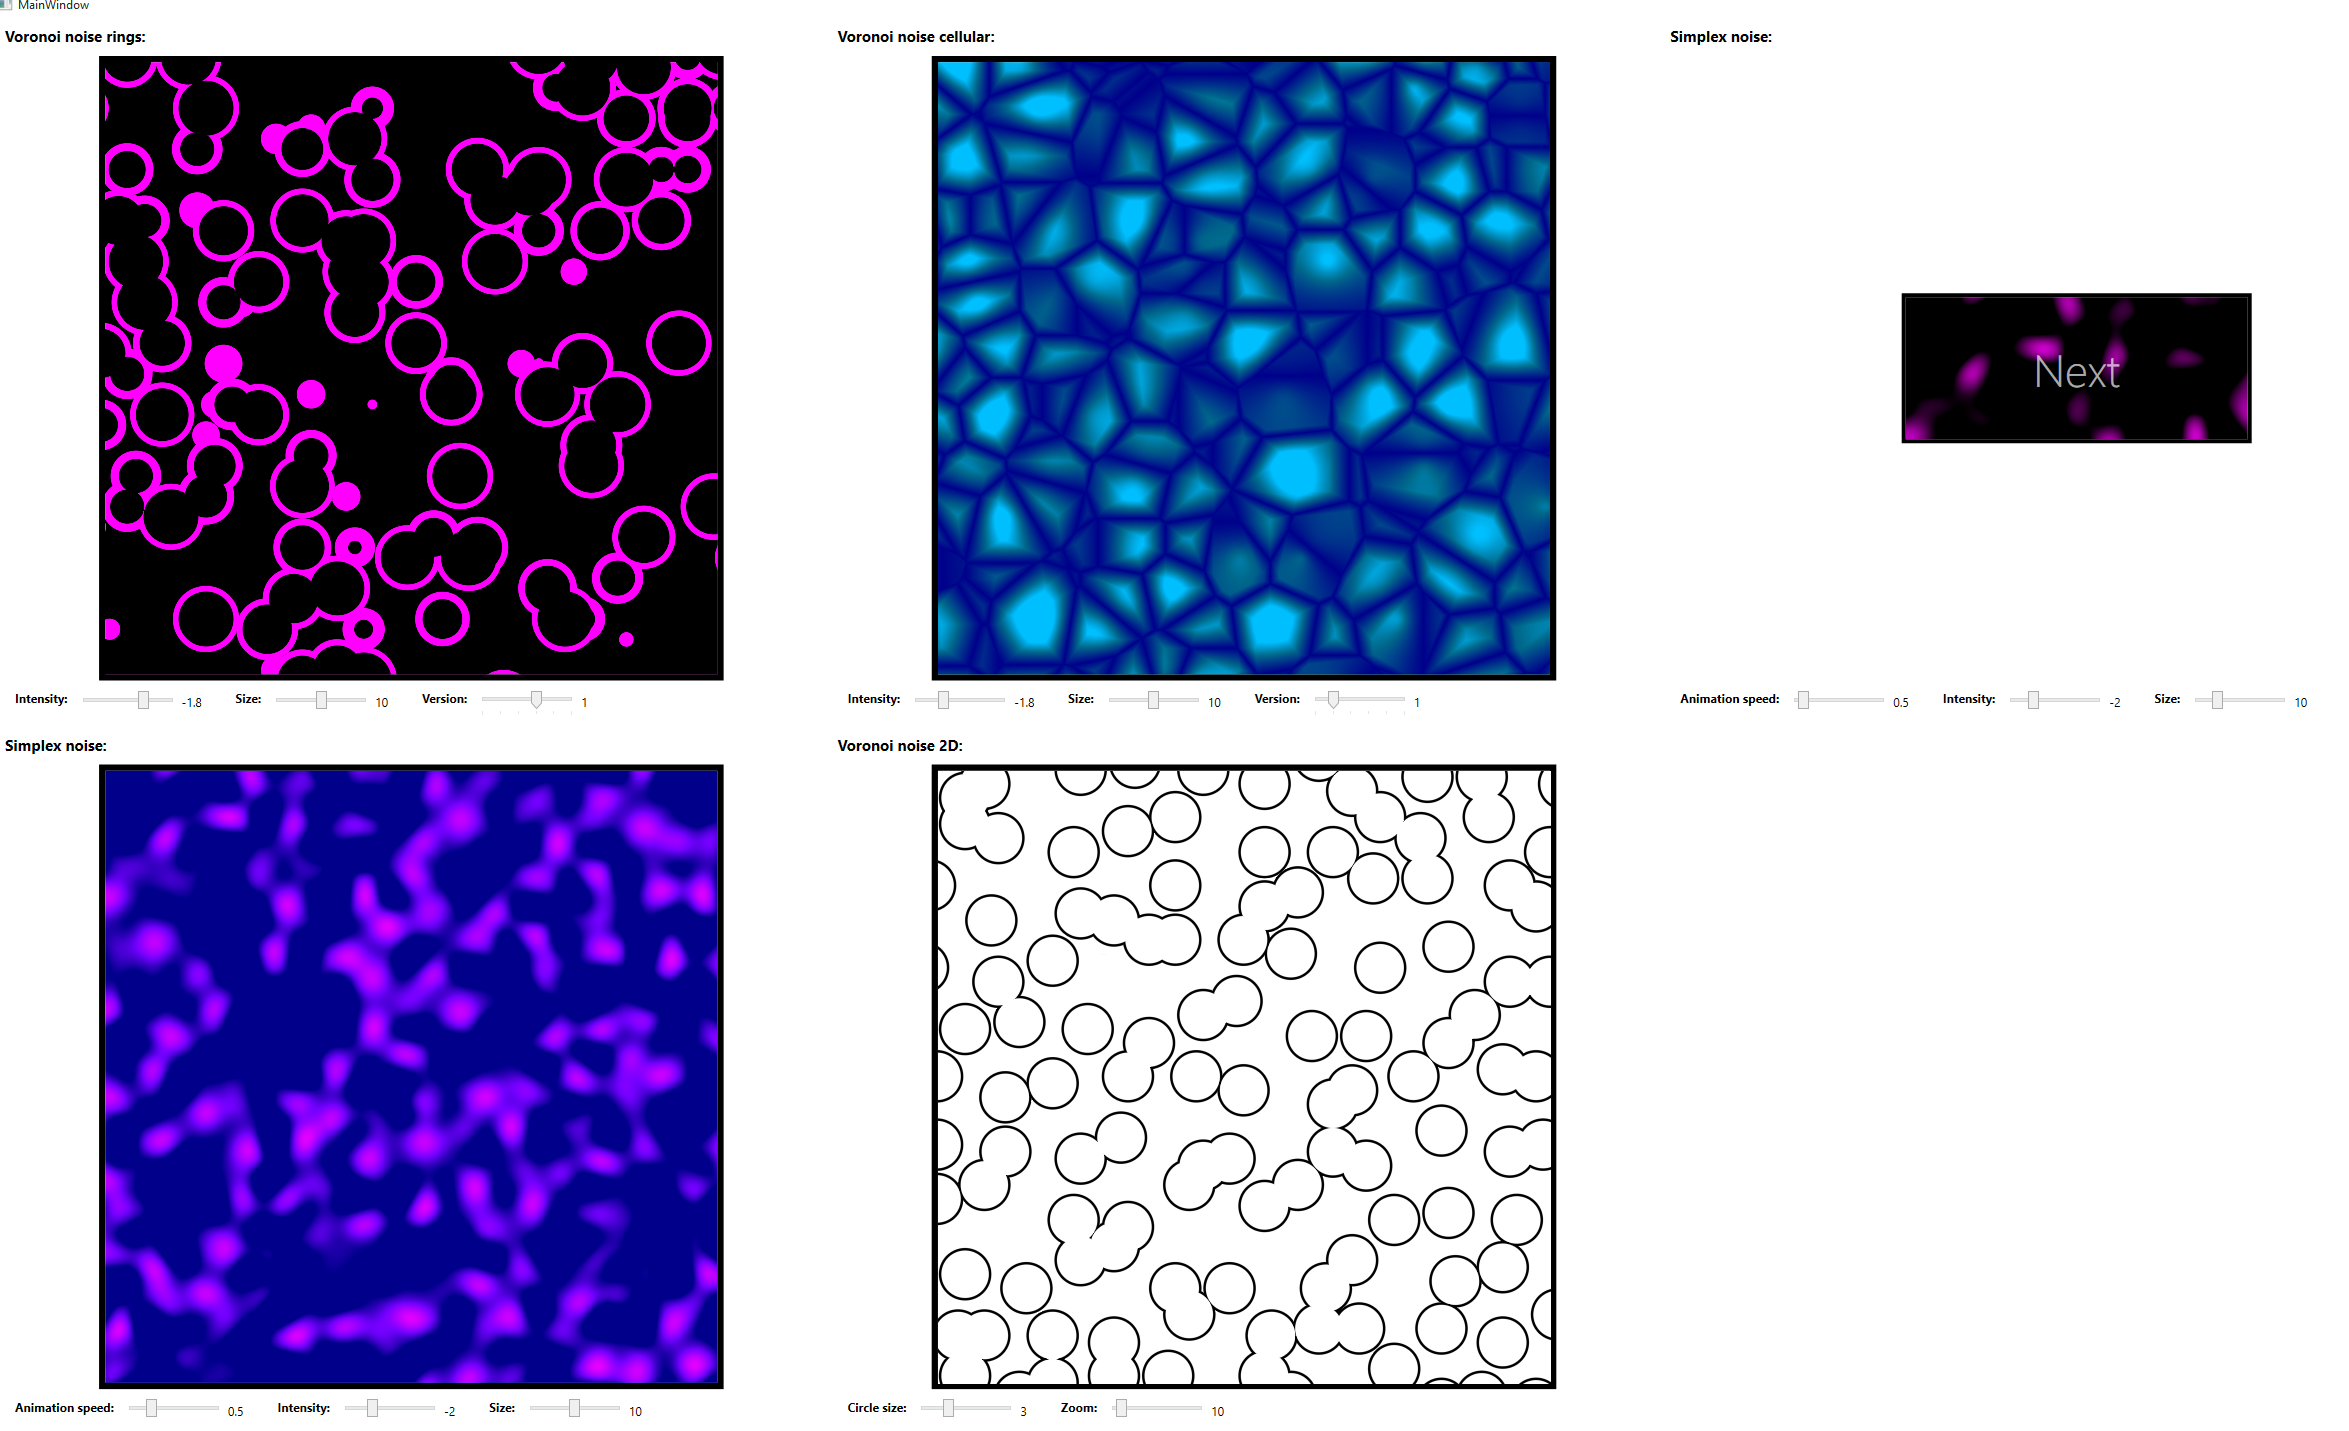
In this post I will be talking shortly about using pixel shaders written in HLSL for WPF. These can be used to create more advanced visual effects. In my example I have created some procedural noise shaders, such as perlin noise and voronoi noise 2D and 3D. Notice that they will animate when clicked. Source code here.
WPF has a base class called ShaderEffect that is used by all effects. By using this class it is possible to wrap HLSL pixel shaders and apply them to elements in XAML. Dependency properties are bound to the HLSL input like this:
C-Sharp:
public class SimplexNoise : ShaderEffect
{
	public static readonly DependencyProperty SizeProperty = DependencyProperty.Register("Size", typeof(double), typeof(SimplexNoise), new UIPropertyMetadata(((double)(10D)), PixelShaderConstantCallback(0)));

	public SimplexNoise()
	{
	    ...

	    this.UpdateShaderValue(SizeProperty);
	}

	public double Size
	{
	    get { return ((double)(this.GetValue(SizeProperty))); }
	    set { this.SetValue(SizeProperty, value); }
	}
}
HLSL Shader:
float size : register(C0);

...

float4 main(float2 uv : TEXCOORD) : COLOR
{
	float perlin = 0.5 + 0.5 * snoise(float3(size * uv, timer * animationspeed));

	...

  	return finalColor;
}
XAML:
<CheckBox.Effect>
    <effects:SimplexNoise
	    ...
	    Size="{Binding Value, ElementName=SizeInput}"
    />
</CheckBox.Effect>
There is a lot of code missing here, but I just wanted to show the basic idea. Please look att the source code for a more detailed version.
A great tool for helping out is the shader editor Shazzam. Shazzam also compiles the .fx files into .ps files and generates C# wrappers, which is really handy. It supports Shader Model 3 pixel shaders (can be set under Settings).
For a more detailed explanation regarding how to implement pixel shaders in WPF, please visit this this Shader Effects tutorial.